Use your Purdue Username and (BoilerKey) Password.
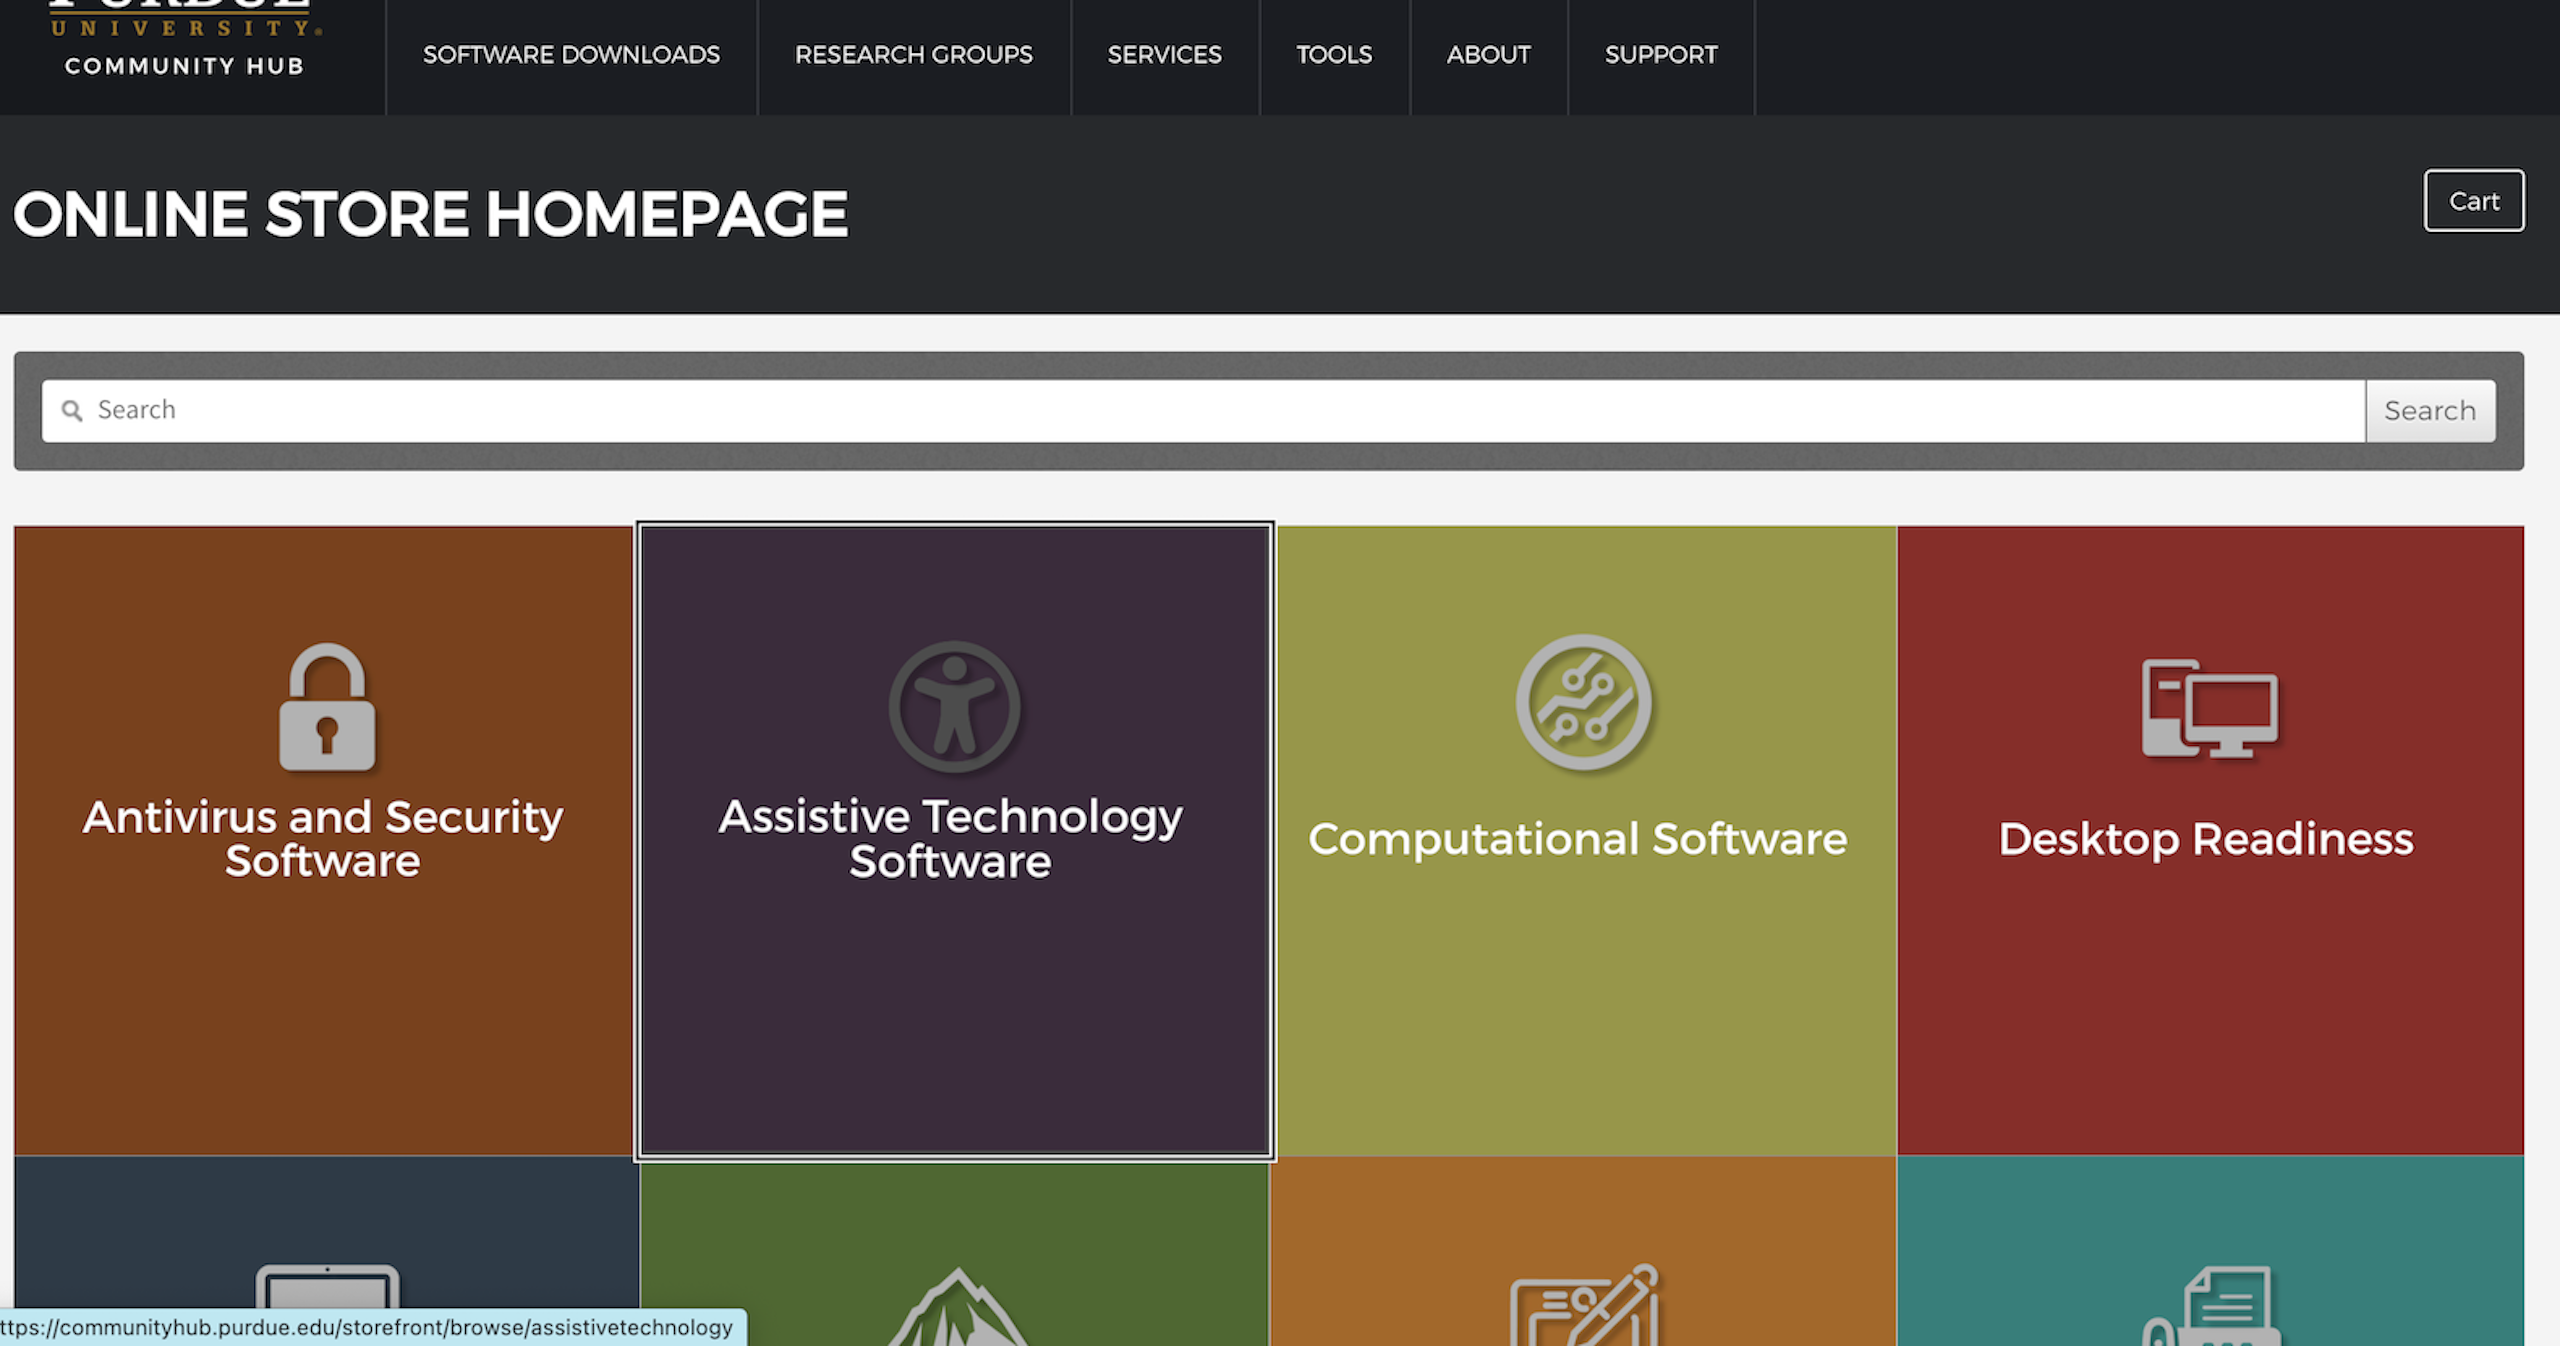
Select Software Downloads in header banner.
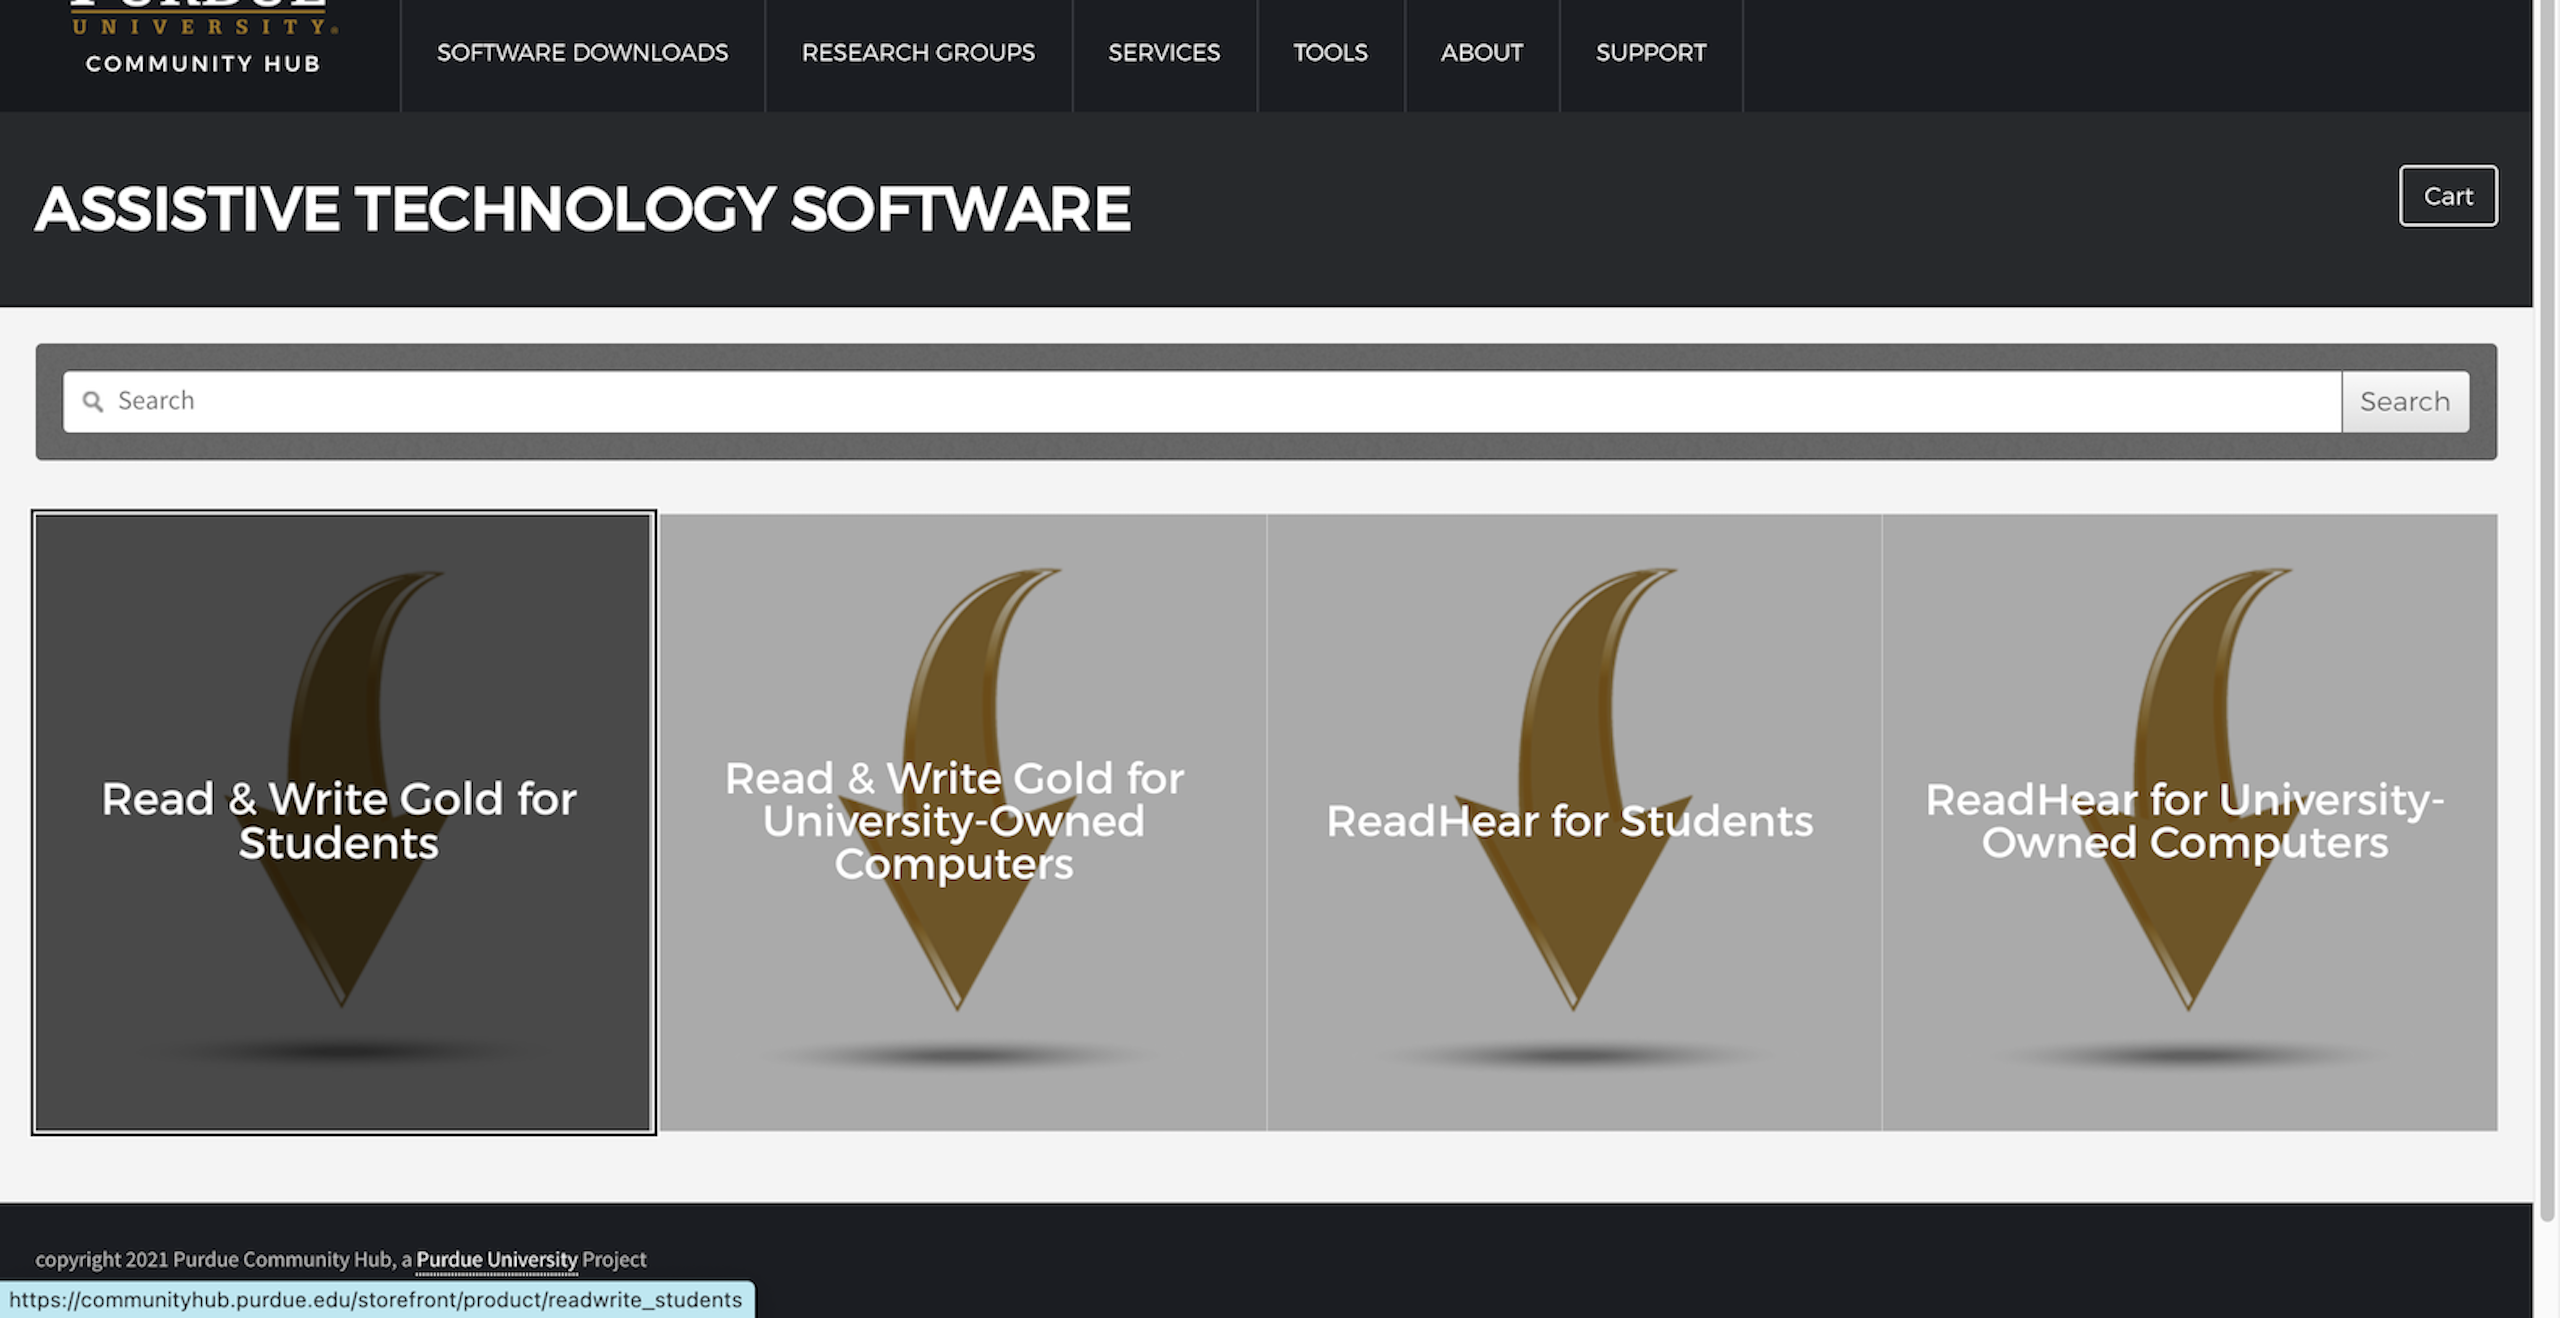
Select Assistive Technology Software.
Select Read & Write Gold for Students.
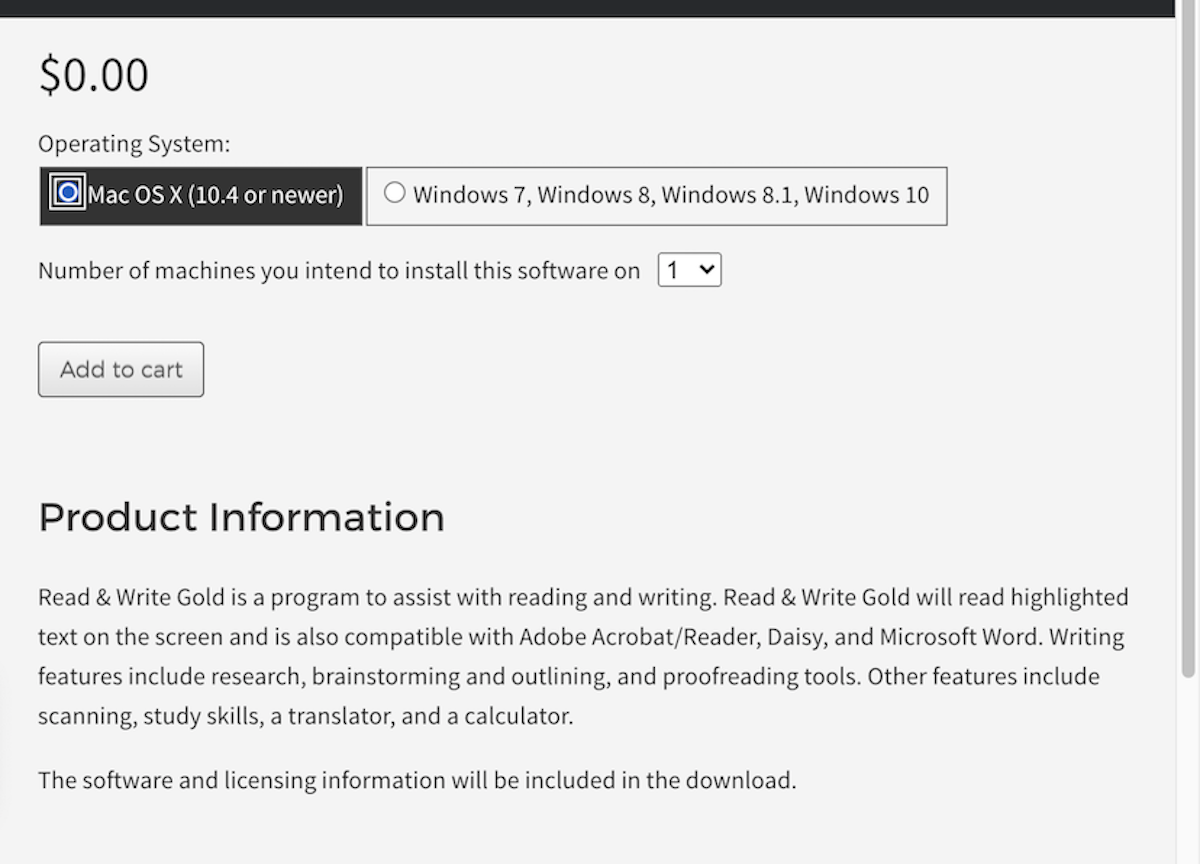
Select the download link for your type of computer (Mac OS X). Then add to cart, checkout, and finally download.
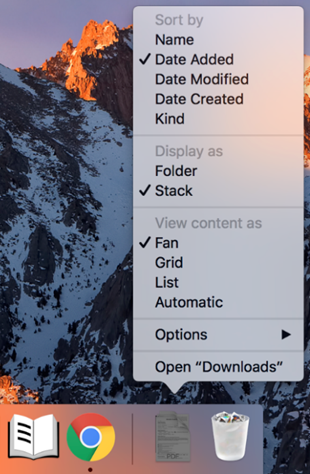
Access your Downloads folder and uncompress the application folder.
Double click on the uncompressed folder.
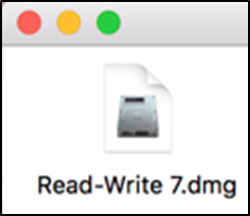
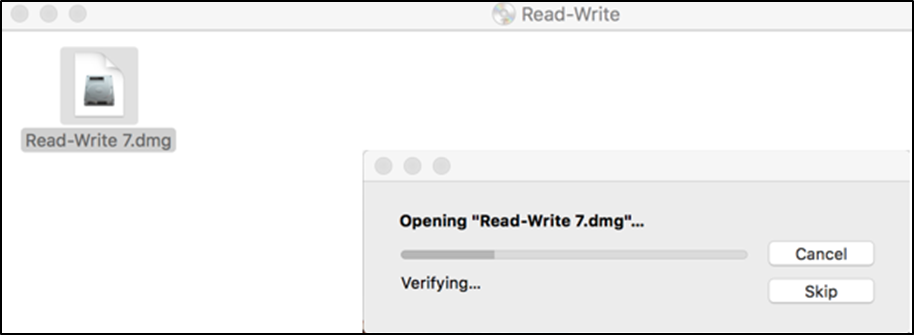
Click on the Read-Write 7.dmg and wait for the application to uncompress.
Open the disk image.
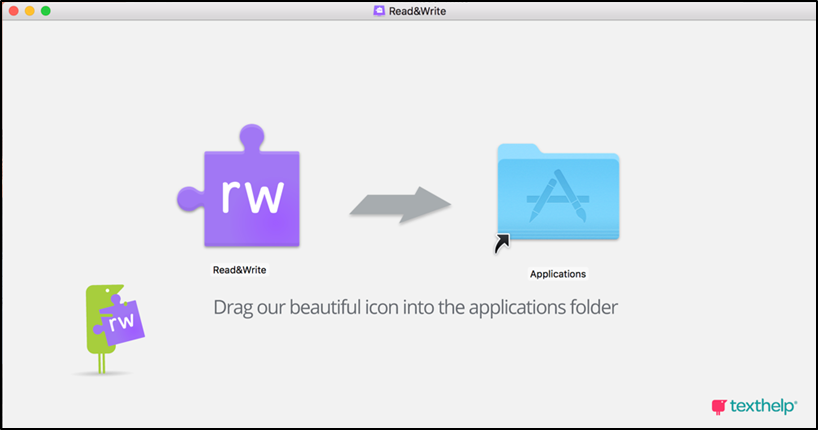
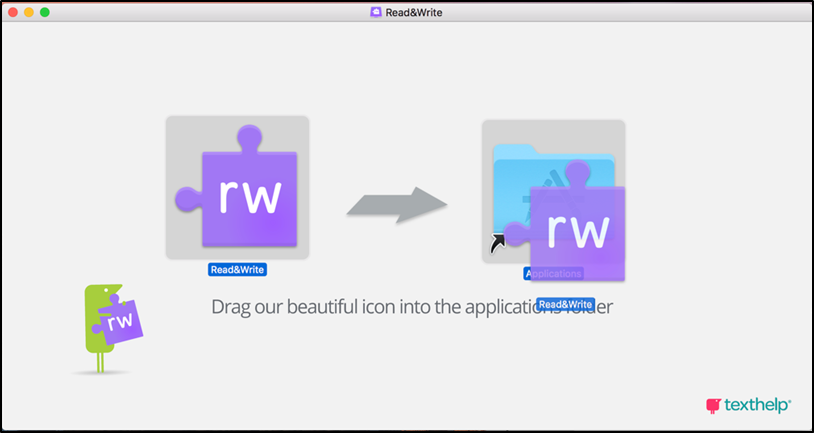
Copy the Read and Write Icon to the Macintosh’s Applications folder.
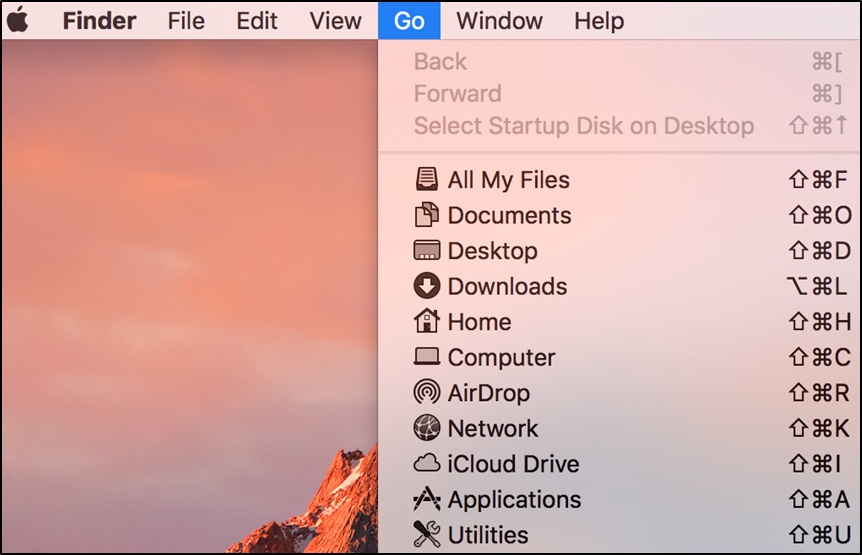
Select Go in Mac toolbar and click Applications. Alteratively, when in Finder click shortcut COMMAND + SHIFT + A .
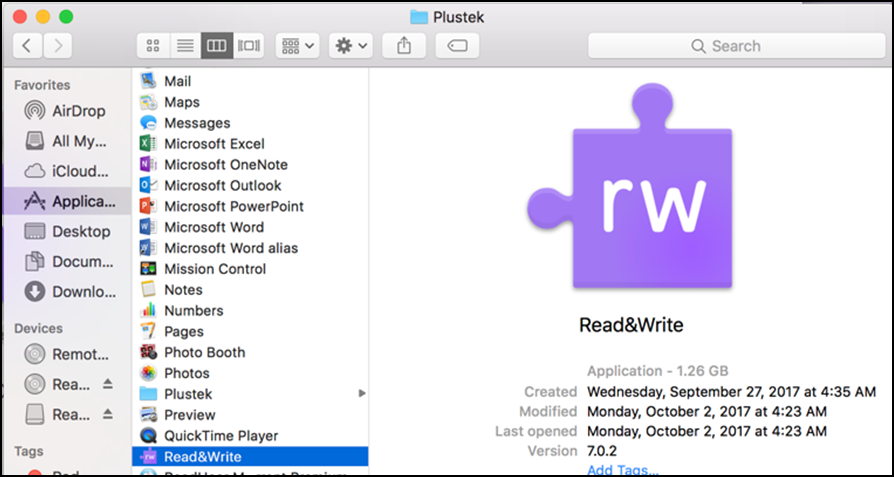
Scroll down to the Read and Write Gold Application and launch (double click) it.
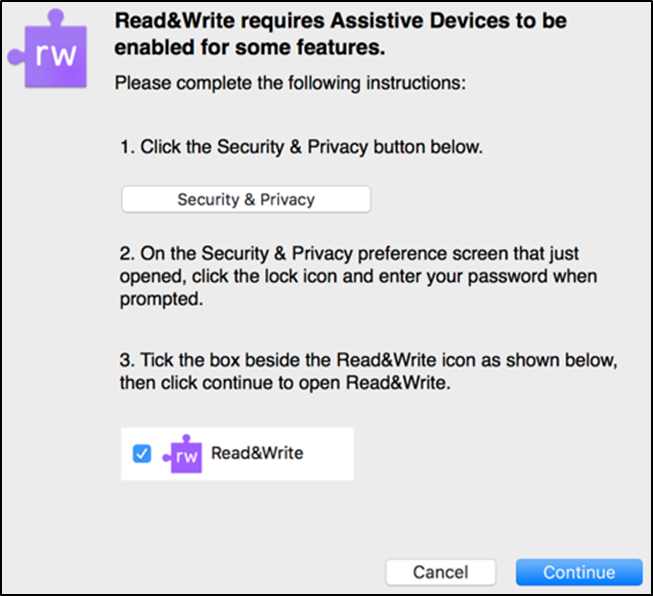
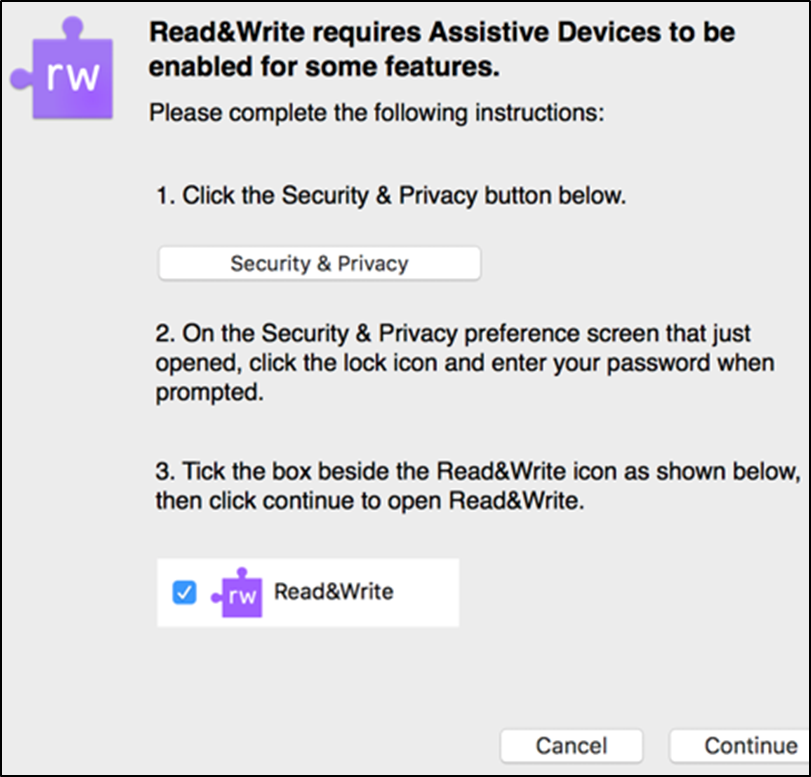
Select the Security and Privacy Button in popup dialog box.
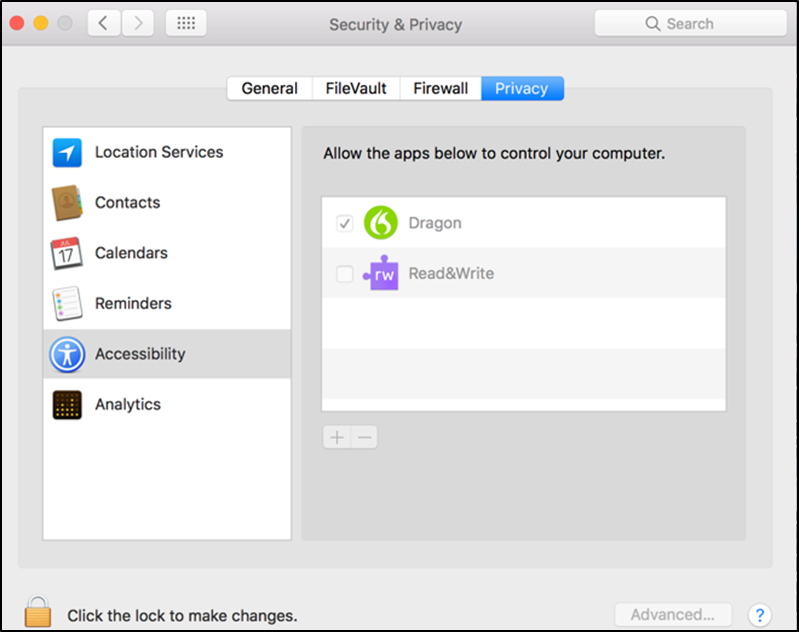
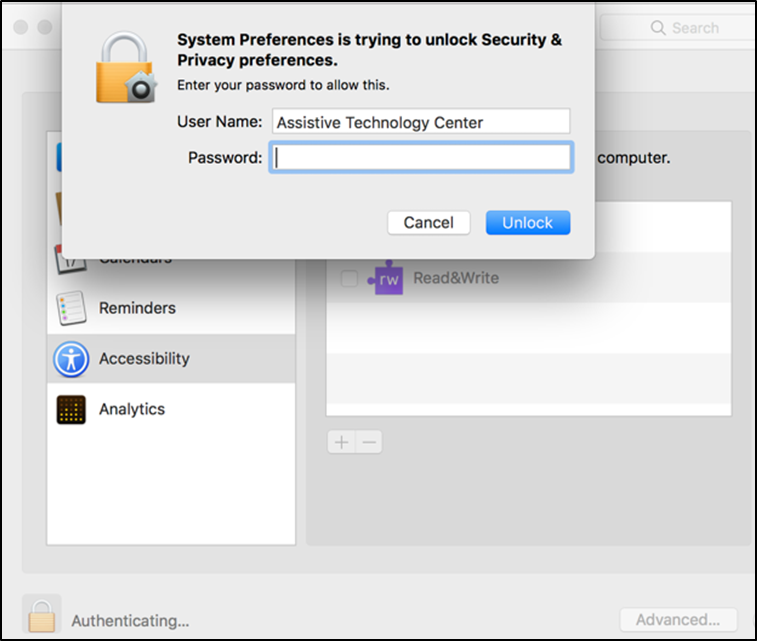
Select the Lock in the lower left hand corner.
Enter the computer's administrator/user password in the dialog box and click Unlock.
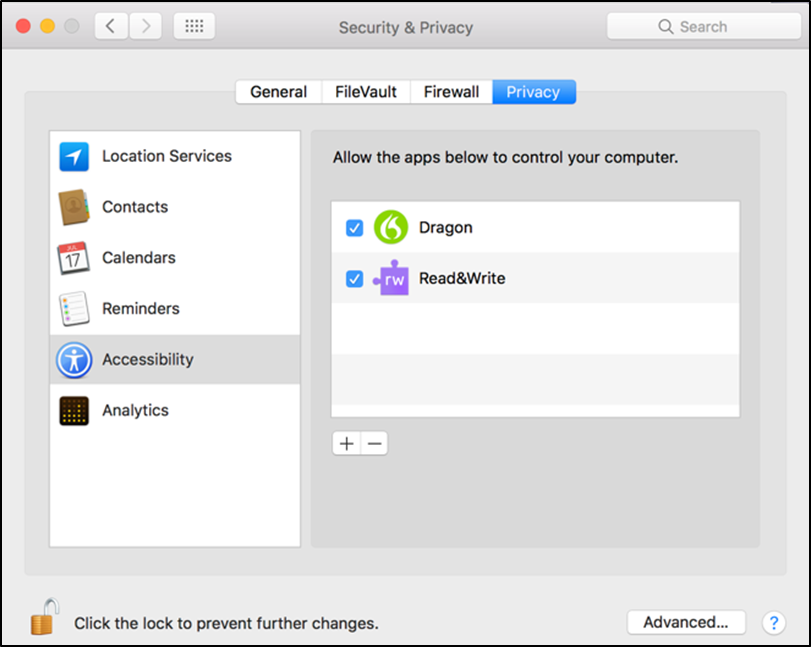
Select the checkbox next to Read & Write Gold.
Select the Lock icon that is located in the lower left hand corner to relock and then close the Settings window.
Return to the Read & Write Install window and select Continue.
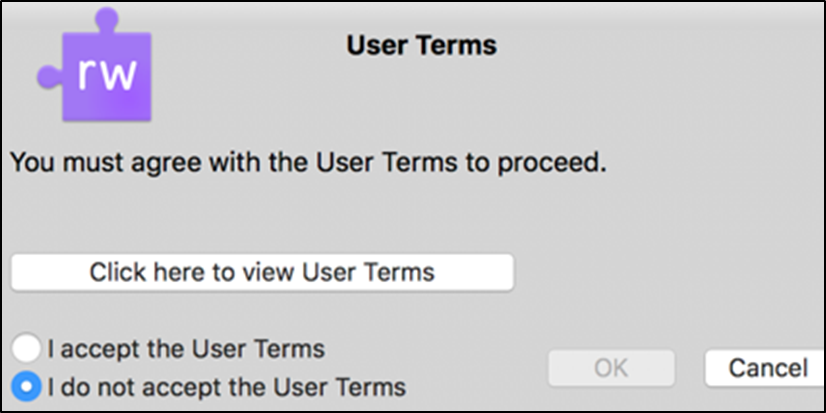
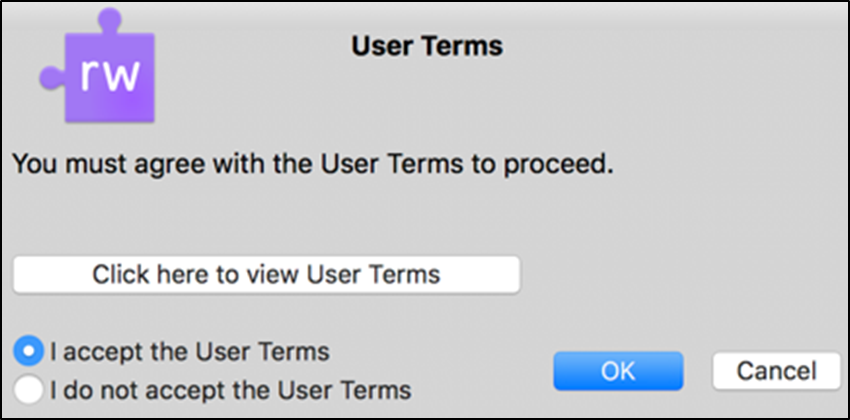
Select the radial button that is next to I accept the User Terms.
Confirm license acceptance by clicking OK.
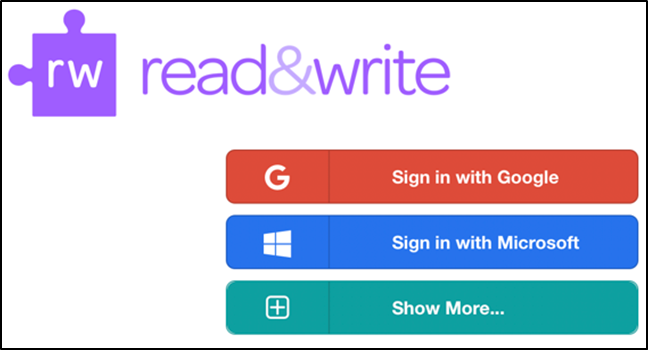
Select Sign in with Microsoft. You must use your Purdue Microsoft account to use our license. Students are given a Microsoft account by default. Purdue faculty/staff may need to set up their Microsoft account with Purdue ITaP. Do not use Google credentials.
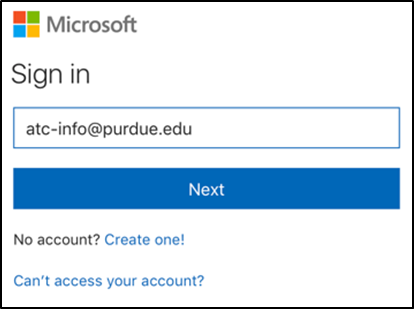
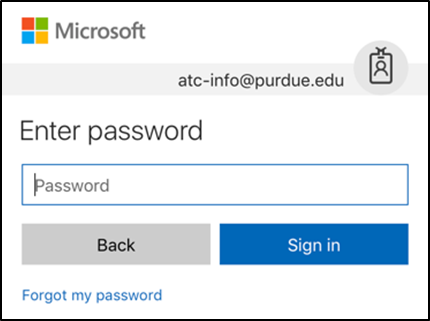
Enter your Purdue email address and select Next.
Enter your Purdue (non-BoilerKey) password and select Sign in.
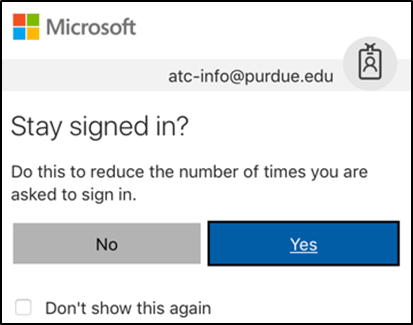
Select Yes to stay signed in.
The Read and Write Gold Application for Mac will display on the top of your screen.
Playlist of Mac Read and Write features by TextHelp: This youtube playlist will show you how to use all the features of Read and Write, so we suggest skipping features you don't think you will use, and watching the demos entirely for the features you will use, like PDF reader, speech, and screenshot reader.